
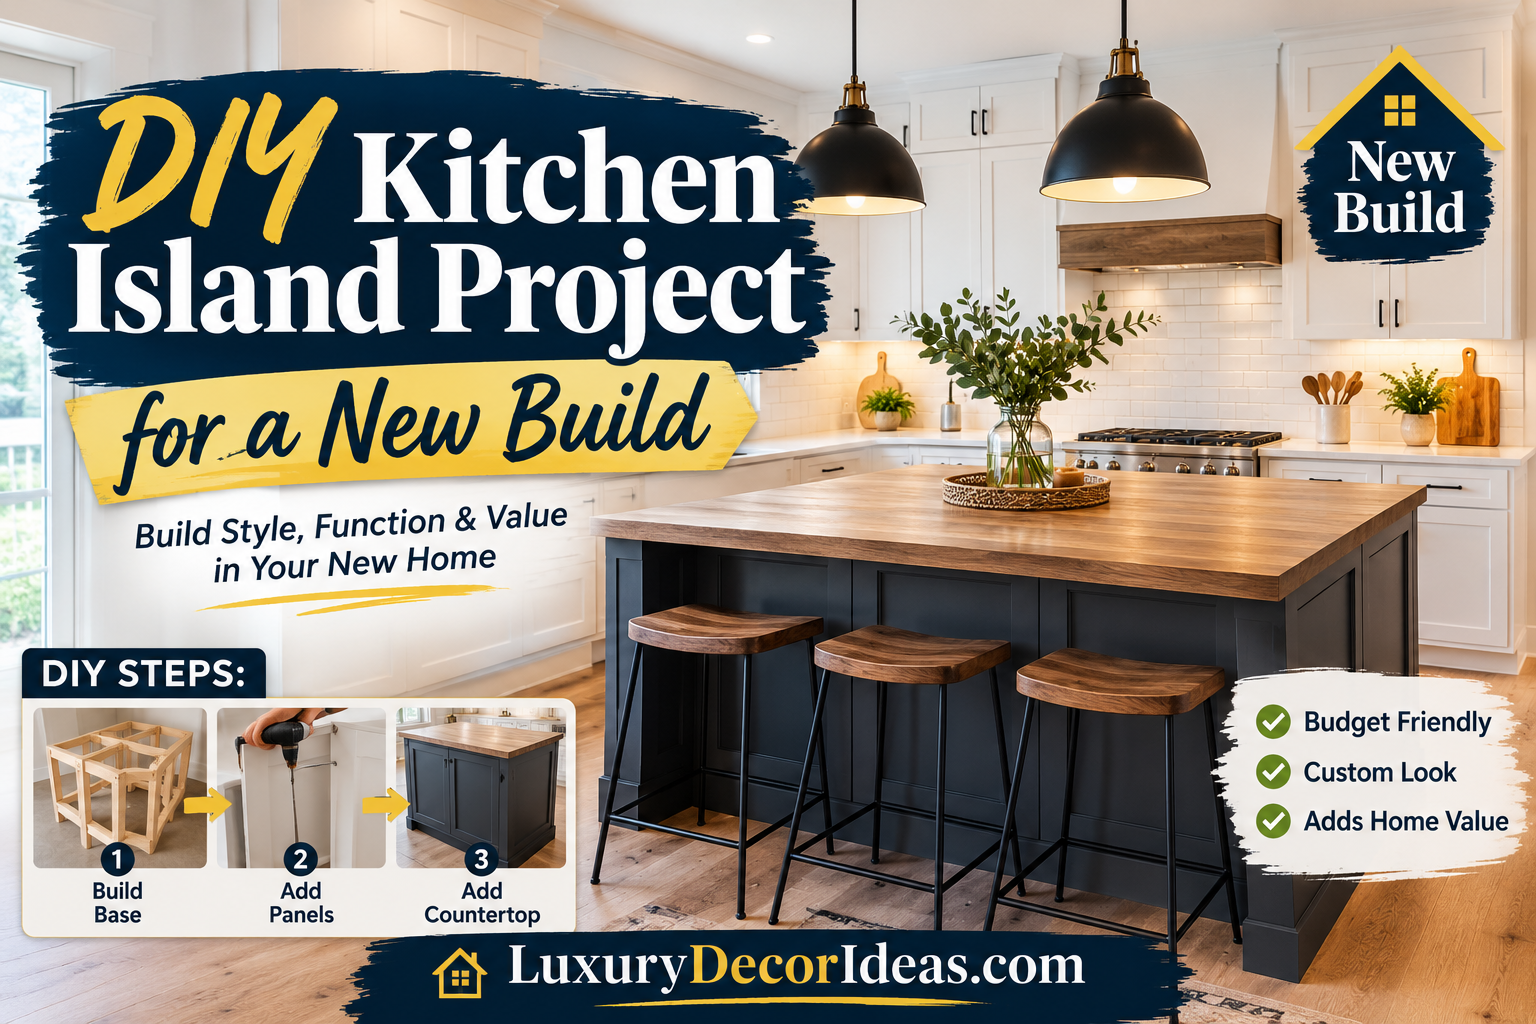
There is something genuinely satisfying about building a piece of your own kitchen with your own two hands, especially in a brand new home where every other detail was chosen from a catalog or a showroom. A do it yourself kitchen island offers exactly that opportunity, letting you add a custom, one of a kind feature to your new build without the custom cabinetry price tag that usually comes with it.
Whether your new home’s kitchen came without an island entirely, or you simply want a second, more personalized island for extra storage and workspace, building your own is a genuinely achievable weekend or two project, even for those newer to DIY home projects. We are walking through exactly how to plan, build, and finish your own kitchen island from start to finish. Let us get into it. 🧰✨
Why a DIY Island Makes Sense for a New Build 🤔
Before diving into the actual building process, let us talk about why this project genuinely appeals to so many new homeowners.
🌟 Custom built in kitchen islands from your builder often come with a significant upgrade cost during the design center phase 🌟 Building your own island allows you to customize dimensions specifically to fit your kitchen’s unique layout 🌟 A DIY approach offers genuine cost savings compared to purchasing a comparable store bought or custom island 🌟 This project lets you add a personal, handmade touch to a brand new space that otherwise came entirely from a builder’s standard offerings 🌟 Many DIY islands can be completed in a relatively short timeframe, offering a satisfying, visible project during the sometimes slower post move in phase
With that motivation in mind, let us walk through exactly how to plan and execute this project successfully.
Step One: Plan Your Island’s Purpose and Dimensions 📐
Before purchasing a single material, take time to clearly define what you actually want your island to accomplish.
🍽️ Will this island primarily serve as additional workspace, storage, or seating, or some combination of all three 📏 Measure your kitchen’s available floor space carefully, ensuring adequate walkway clearance on all sides 🪑 If you want seating, plan for appropriate overhang depth, typically around twelve to fifteen inches for comfortable stool seating 🔌 Consider whether you want to incorporate an electrical outlet, which will require coordination with an electrician if your new build did not already include this option
Comparison Table: Key Planning Considerations 🧾
| Consideration | Recommendation |
|---|---|
| Walkway Clearance | At least 36 to 42 inches on all sides |
| Seating Overhang | 12 to 15 inches for comfortable stool seating |
| Standard Counter Height | 36 inches for a traditional working height |
| Bar Height Option | 42 inches if pairing with taller stools |
| Electrical Needs | Plan and coordinate with an electrician early |
Step Two: Choose Your Base Construction Method 🧱
There are a few common approaches to building the base structure of your island, each offering different levels of complexity and cost.
🗄️ Stock cabinets as your base. Using pre built stock or ready to assemble cabinets, widely available at home improvement stores, offers a genuinely beginner friendly approach with built in storage already included.
🪵 Custom framed base. Building your own frame from plywood or dimensional lumber offers maximum customization but requires more woodworking experience and precision.
🪑 Furniture style base with legs. Using turned wood legs paired with a simpler frame creates a furniture like appearance, popular for a more custom, high end look.
Comparison Table: Base Construction Method Comparison 🧾
| Method | Skill Level Required | Storage Included | Overall Cost |
|---|---|---|---|
| Stock Cabinets | Beginner Friendly | Yes, built in | Low to Medium |
| Custom Framed Base | Intermediate to Advanced | Only if built in separately | Medium |
| Furniture Style With Legs | Intermediate | Depends on design | Medium to High |
Step Three: Gather Your Materials and Tools 🧰
Once you have settled on your general approach, gathering the right materials and tools upfront helps the actual building process go smoothly.
🪚 Circular saw or table saw for cutting lumber or plywood to size 🔩 Drill and appropriate screws for assembly 📏 Level and measuring tape for ensuring everything stays square and even 🧱 Your chosen base material, whether stock cabinets, plywood, or dimensional lumber 🪵 Countertop material of your choice 🖌️ Primer, paint, or stain depending on your desired finish 🔧 Corbels or hidden brackets if your countertop will include a seating overhang
Step Four: Build and Secure Your Base 🔨
With your materials ready, it is time to actually construct the foundation of your island.
📐 If using stock cabinets, position them according to your planned layout and secure them together using screws through the cabinet sides 🧱 If building a custom frame, ensure your structure is square and level before securing all joints 🔩 Anchor your base to the floor using L brackets or an appropriate mounting method, ensuring the island remains sturdy and does not shift during everyday use 📏 Double check all measurements and levelness before moving forward to countertop installation
Comparison Table: Countertop Material Options 🧾
| Material | Durability | DIY Friendliness | Approximate Cost Level |
|---|---|---|---|
| Butcher Block | Medium, requires sealing | High | Low to Medium |
| Quartz | Very High | Low, often needs professional templating | High |
| Laminate | Medium | High | Low |
| Solid Surface | High | Medium | Medium to High |
| Tile | Medium | Medium | Low to Medium |
Step Five: Install Your Countertop 🪨
Your countertop choice significantly impacts both the difficulty of this step and the overall finished appearance of your island.
🪵 Butcher block countertops are genuinely one of the most beginner friendly options, often requiring simple cutting, sanding, and sealing 💎 If choosing quartz, granite, or another natural stone, professional templating and installation is generally recommended given the weight and precision required 🔧 If your countertop includes a seating overhang, install appropriate corbels or hidden support brackets before setting the countertop in place, since overhangs beyond about nine inches typically require additional support
Step Six: Add Finishing Details 🎨
With your base and countertop in place, a few finishing touches transform your island from a simple structure into a genuinely polished feature.
🖌️ Apply primer and paint, or a wood stain, depending on your desired finish, using a durable satin or semi gloss finish for easier cleaning 🔧 Install cabinet hardware, choosing pulls or knobs that coordinate with your existing kitchen fixtures 🪵 Consider adding decorative trim, beadboard paneling, or corbels for additional visual interest along the island’s sides 💡 If desired, coordinate with an electrician to add pendant lighting above your new island for both function and style
Full Summary Table of the Building Process 📋
| Step | Focus | Key Consideration |
|---|---|---|
| 1 | Plan Purpose and Dimensions | Measure space and define function |
| 2 | Choose Base Construction Method | Match skill level to approach |
| 3 | Gather Materials and Tools | Prepare everything before starting |
| 4 | Build and Secure Base | Ensure square, level, and anchored |
| 5 | Install Countertop | Match material to skill level |
| 6 | Add Finishing Details | Paint, hardware, and lighting |
Tips for Coordinating Electrical and Plumbing Needs 🔌
If you want your new island to include an outlet, or even a small prep sink, coordinating this properly matters significantly for both function and safety.
🔌 Consult with a licensed electrician for any new outlet installation, since this typically requires running new wiring beneath your flooring or through an accessible route 🚰 A secondary sink within your island requires plumbing rough in work, making this a detail worth planning before finalizing your island’s exact placement 📋 If your new build’s electrical rough in has already been completed, adding a new outlet may require additional work to access wiring, so plan this detail as early as possible
Budget Expectations for a DIY Island 💰
One of the most appealing aspects of this project is the potential for genuine cost savings compared to custom or store bought alternatives.
💵 Using stock cabinets and a butcher block countertop tends to represent one of the more budget friendly approaches available 💰 Custom framed bases with higher end countertop materials will naturally increase your overall project cost 🔧 Factor in the cost of hardware, paint or stain, and any electrical work separately from your base materials and countertop
Common Mistakes to Avoid During This Project ⚠️
Even a well planned DIY island project can run into a few common pitfalls worth watching for.
❌ Failing to measure walkway clearance properly, resulting in a kitchen that feels cramped once the island is in place ❌ Skipping proper anchoring, leaving the island unstable during everyday use ❌ Underestimating the support needed for a countertop overhang, risking cracking over time ❌ Choosing a countertop material beyond your realistic skill level without seeking professional help for installation ❌ Rushing the finishing details, resulting in a less polished overall appearance
Frequently Asked Questions ❓
Do we need professional help for any part of this project? While much of this project is genuinely achievable as a DIY effort, we would recommend professional assistance for any new electrical or plumbing work, and for installing heavier stone countertops like granite or quartz.
What is the most beginner friendly approach to building a kitchen island? Using stock or ready to assemble cabinets as your base, paired with a butcher block countertop, tends to offer the most approachable combination for those newer to DIY projects.
How long does a typical DIY kitchen island project take to complete? This varies based on your chosen materials and complexity, but many homeowners complete this project over the course of one to two weekends.
Can we add an island to our new build kitchen if it was not originally included? Yes, as long as your kitchen has adequate floor space and proper walkway clearance, adding an island after move in is a genuinely achievable project.
Is it worth adding electrical outlets to a DIY island? For many households, yes, particularly if you plan to use small appliances at the island regularly, though this does require coordinating with a licensed electrician for proper installation.
Final Thoughts 💭
Building your own kitchen island for your new home offers a genuinely rewarding way to add a custom, personalized feature without the cost of a fully custom built in solution. From planning your dimensions and choosing your base construction method to installing your countertop and adding those final polished details, this project is genuinely achievable for homeowners at nearly any DIY skill level.
Take your time with the planning stage, choose materials that match your comfort level, and do not hesitate to bring in professional help for any electrical or plumbing components. Here is to adding a little bit of handmade, personal character to your beautiful new build kitchen. 🔨🏝️