
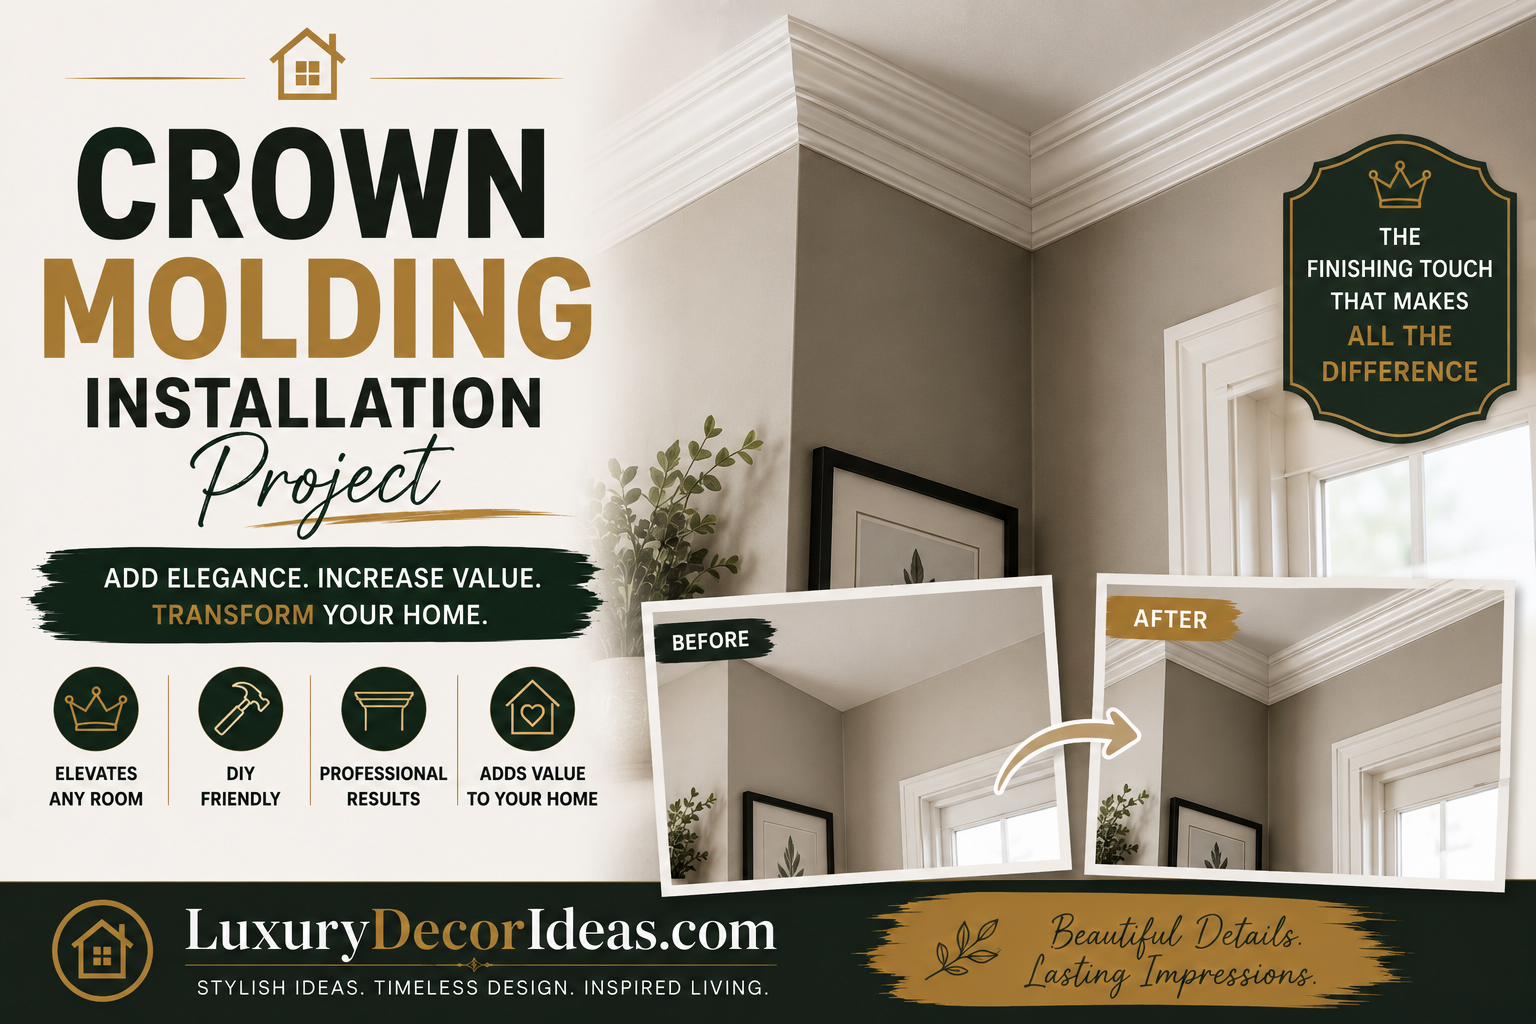
There is a reason crown molding consistently appears at the top of so many home improvement wish lists. This single architectural detail, running along the transition between wall and ceiling, has an almost magical ability to make a room feel more finished, more intentional, and genuinely more elevated, regardless of your home’s age or existing style. A space without it can feel perfectly fine, yet somehow slightly incomplete, while a room with well installed crown molding immediately reads as more polished.
The good news is that installing crown molding, while requiring some patience and precision, is a genuinely achievable DIY project for homeowners willing to take their time with the process. We are walking through everything you need to know to plan and execute your own crown molding installation successfully. Let us get into it. 🛠️✨
Why Crown Molding Makes Such a Significant Difference 🤔
Before diving into the specific project details, let us talk about why this particular architectural detail consistently delivers such strong visual impact.
🌟 It softens the harsh, straight line transition between wall and ceiling, adding genuine architectural interest 🌟 Crown molding creates a sense of height and grandeur, even in rooms with standard ceiling heights 🌟 This detail instantly elevates a room’s overall perceived quality and craftsmanship 🌟 It offers a relatively affordable way to add custom, builder upgrade level detail to an existing home 🌟 Crown molding works across nearly every design style, from traditional to modern, when the profile is chosen thoughtfully
With that motivation established, let us walk through exactly how to plan and execute this project successfully.
Step One: Choose the Right Molding Profile for Your Home 📐
Before purchasing any materials, take time to select a molding style that genuinely complements your home’s existing architecture and design.
📏 Simple, smaller profile molding works beautifully in modern or minimalist homes, adding detail without feeling overly ornate 🏛️ Larger, more elaborate profiles suit traditional or formal spaces, particularly rooms with higher ceilings that can accommodate more substantial scale 🪵 Material choice matters as well, with options ranging from solid wood to more affordable and lightweight polyurethane or MDF alternatives 📐 Consider your ceiling height when selecting molding size, since oversized molding in a room with standard eight foot ceilings can feel visually overwhelming
Comparison Table: Crown Molding Profile Selection 🧾
| Profile Size | Best Ceiling Height | Best Style |
|---|---|---|
| Small, Simple Profile | 8 feet standard | Modern, minimalist |
| Medium Profile | 8 to 9 feet | Transitional |
| Large, Ornate Profile | 9 feet and above | Traditional, formal |
Step Two: Choose Your Material 🪵
Beyond profile style, your material choice significantly impacts both the installation process and your overall budget.
🌳 Solid wood molding offers genuine authenticity and the ability to be stained rather than painted, though it typically carries a higher cost and can be more challenging to install ⬜ MDF, or medium density fiberboard, provides a smooth, paintable surface at a more budget friendly price point, making it a popular choice for most residential installations 🧴 Polyurethane molding is lightweight, moisture resistant, and often comes pre primed, offering genuine DIY friendliness, particularly for detailed, ornate profiles
Comparison Table: Material Comparison 🧾
| Material | DIY Friendliness | Cost Level | Best For |
|---|---|---|---|
| Solid Wood | Moderate | High | Staining, high end finishes |
| MDF | High | Low to Medium | Painted finishes, most homes |
| Polyurethane | Very High | Medium | Detailed profiles, moisture prone areas |
Step Three: Measure Your Room and Calculate Materials 📏
Accurate measurement genuinely determines how smoothly your installation process will proceed.
📐 Measure the total perimeter of your room, accounting for each individual wall separately 🧮 Add approximately ten percent extra material to account for cuts, mitered corners, and any mistakes along the way 📝 Sketch out your room’s layout, noting any inside corners, outside corners, and irregular angles that will require special attention during cutting
Step Four: Gather Your Materials and Tools 🧰
Having everything ready before you begin helps the actual installation process move smoothly.
🪚 A miter saw, ideally a compound miter saw, for accurate angled cuts 📏 A stud finder for locating secure nailing points 🔨 A nail gun, along with appropriate finish nails 📐 A coping saw for creating coped inside corner joints, which typically deliver a more precise fit than mitered inside corners 🧴 Wood filler and caulk for finishing seams and nail holes 🖌️ Primer and paint if using MDF or unfinished material
Comparison Table: Essential Tools Checklist 🧾
| Tool | Purpose |
|---|---|
| Compound Miter Saw | Accurate angled cuts |
| Stud Finder | Locating secure nailing points |
| Nail Gun | Efficient, secure attachment |
| Coping Saw | Precise inside corner joints |
| Caulk and Wood Filler | Seamless, finished appearance |
Step Five: Understand Inside and Outside Corner Cuts 📐
This step genuinely represents the most technically challenging aspect of crown molding installation, making it worth understanding thoroughly before you begin cutting any material.
🔺 Outside corners are typically cut using a standard forty five degree miter cut on both adjoining pieces, creating a clean angled joint 🔻 Inside corners can be cut using either a mitered joint or a coped joint, with coping generally recommended for a tighter, more forgiving fit, particularly in homes with walls that are not perfectly square 📐 Since crown molding sits at an angle against both the wall and ceiling, cutting it requires either a specialized crown molding jig or careful adjustment of your miter saw’s angle settings
Comparison Table: Corner Cutting Method Comparison 🧾
| Corner Type | Recommended Method | Difficulty Level |
|---|---|---|
| Outside Corner | Standard 45 degree miter cut | Moderate |
| Inside Corner | Coped joint | Moderate to Advanced |
| Inside Corner Alternative | Mitered joint | Moderate |
Step Six: Install Your Molding 🔨
With your material cut and prepared, the actual installation process brings your project together.
🪛 Locate and mark wall studs and ceiling joists throughout your installation area, since securing molding into these structural points significantly improves long term stability 📏 Begin installation on your longest wall, working your way around the room from there 🔨 Secure molding using your nail gun, nailing into both the wall studs and ceiling joists where possible 📐 Test fit each piece before final attachment, making any necessary adjustments to your cuts along the way
Full Summary Table of the Project Process 📋
| Step | Focus | Key Consideration |
|---|---|---|
| 1 | Choose Molding Profile | Match size to ceiling height and style |
| 2 | Choose Material | Balance budget with finish preference |
| 3 | Measure and Calculate | Add buffer for cuts and mistakes |
| 4 | Gather Materials and Tools | Prepare everything before starting |
| 5 | Understand Corner Cuts | Practice coping and mitering technique |
| 6 | Install Molding | Secure into studs and joists |
Step Seven: Finish and Fill Seams 🎨
With your molding installed, this final step genuinely completes the polished, seamless appearance.
🧴 Fill all nail holes with appropriate wood filler, sanding smooth once fully dry 🖌️ Caulk along the top and bottom edges where the molding meets the wall and ceiling, creating a seamless, professional appearance 🎨 Apply your final paint coats if using MDF or unfinished wood, or apply stain and sealant if using solid wood molding ✅ Step back and inspect your finished installation under different lighting conditions, addressing any remaining gaps or imperfections
Tips for a More Successful Installation 🎯
A few additional strategies genuinely help even first time installers achieve a more professional final result.
📐 Practice your coping and mitering technique on scrap material before cutting your actual installation pieces 🧍 Consider having a second person help hold longer pieces in place during installation, particularly for larger rooms 📏 Work patiently through corners, since rushing this particular step is the most common source of visible gaps or misalignment 🔧 Invest in a quality crown molding jig if you plan to tackle multiple rooms, since this tool significantly simplifies the angled cutting process
Budget Expectations for This Project 💰
One of the most appealing aspects of a DIY crown molding installation is the potential for genuine cost savings compared to hiring a professional installer.
💵 MDF molding represents one of the more budget friendly material options available 💰 Polyurethane molding falls into a moderate budget range, offering DIY friendliness alongside detailed profile options 💎 Solid wood molding represents a larger investment but delivers an authentic, high end finished appearance, particularly when stained rather than painted
Common Mistakes to Avoid During This Project ⚠️
Even well planned crown molding installations can run into a few common pitfalls worth watching for.
❌ Rushing corner cuts without adequate practice, resulting in visible gaps at joints ❌ Failing to locate and nail into structural studs and joists, risking loose or sagging molding over time ❌ Underestimating material needs, resulting in mismatched dye lots or delayed project completion ❌ Choosing an oversized profile for a room with standard ceiling height, creating a visually overwhelming effect ❌ Skipping proper caulking and filling, leaving a less polished, visibly seamed final appearance
Frequently Asked Questions ❓
Is crown molding installation genuinely achievable for a first time DIYer? Yes, though it does require patience and practice, particularly with corner cutting technique. Starting with a smaller room and practicing cuts on scrap material genuinely helps build confidence.
Should we choose mitered or coped inside corners? While mitered corners are technically simpler, coped joints generally provide a tighter, more forgiving fit, particularly valuable in homes where walls are not perfectly square.
How much crown molding material should we purchase? Measure your room’s total perimeter accurately, then add approximately ten percent extra material to account for cuts, mistakes, and mitered corner waste.
Can crown molding be installed without a nail gun? While possible using traditional hammer and finish nails, a nail gun significantly speeds up the process and reduces the risk of splitting your molding material during installation.
How long does a typical crown molding installation take to complete? This varies based on room size and your experience level, but many single rooms can be completed within a full weekend, including cutting, installation, and finishing work.
Final Thoughts 💭
Crown molding installation offers one of the most transformative architectural upgrades available to homeowners willing to invest a bit of patience and precision into the process. From choosing the right profile and material for your specific space to mastering corner cuts, careful installation, and those final polished finishing touches, this guide walks through everything you need to approach this project with genuine confidence.
Take your time with the planning and practice stages, particularly around corner cutting technique, and trust that this classic architectural detail offers significant visual reward for the effort invested. Here is to rooms that finally feel as finished and elevated as they deserve to be. 🖼️🔨